One important step that they had to learn was how to put on their dot of glue and then hold their piece for 10 counts so that it would stick. Once they figured that out, they were very successful and loved this project.
Thursday, December 21, 2017
Line Designs
Here is an open ended art project that we call Line Designs. We simply cut lots of colorful strips of construction paper and gave each child a black piece of paper and some glue. The children were shown many different ways that they could fold, bend, twist and shape their strips of paper. They were even shown how they could go under and over other pieces as they created.
One important step that they had to learn was how to put on their dot of glue and then hold their piece for 10 counts so that it would stick. Once they figured that out, they were very successful and loved this project.
Christmas Pillows
Each year we have the tradition of making Christmas handprint pillows for the children to give their parents. This year we came up with an angel design. We cut a sponge to paint the blue body and one to paint the head. Then we painted each child's hands and pressed their prints on. We added a glitter paint halo and the year and the child's name. Then we sewed them up and the children wrapped them for their parents.
Reindeer Drawing
We loved our guided reindeer drawing project. After talking about the parts of a reindeer, the children were shown a simple way that they could draw their own reindeer.
They were given a piece of black oil pastel chalk and drew.
When they were finished, they got a paintbrush and water colors to paint their reindeer. We used watercolor paper so that the paint and colors would absorb. These reindeer turned out amazing and the children loved it.
They were given a piece of black oil pastel chalk and drew.
When they were finished, they got a paintbrush and water colors to paint their reindeer. We used watercolor paper so that the paint and colors would absorb. These reindeer turned out amazing and the children loved it.
Jackson Pollock Paintings
We also found that getting the yarn wet before they began painting helped it absorb the paint better.
Shiny Trout (Or Any Fish You Choose)
Here is our project that we did when we learned about rainbow trout. After the children had seen, touched, fished, tasted and looked at lots of trout, they got to use pastel chalks to make their own rainbow trout.
They used the chalks to fill in the shape however they wanted. When they were finished, we poured about 3 tablespoons of corn syrup on their trout. Then they used a medium sized paintbrush to spread it around. The trout needed to dry for about 3 days, but when they were finished, it created a very lovely shiny fish!
Painted Branches
When looking for an idea for our theme of Nature, we decided to PAINT IT!
We brought in branches and provided the children with glitter paint. (Note the paint bottles that we are using. These are absolutely the best and can be found at Discount School Supply).
The children loved the novelty of painting the branches and many talked of painting their trees at home.
The branches have adorned our classroom windows ever since.
We brought in branches and provided the children with glitter paint. (Note the paint bottles that we are using. These are absolutely the best and can be found at Discount School Supply).
The children loved the novelty of painting the branches and many talked of painting their trees at home.
The branches have adorned our classroom windows ever since.
Fire Houses
Trying to create an art activity to go with Fire Safety is always a challenge. We recently tried this and it worked perfectly. Each child got to draw a house on a piece of finger painting paper.
Then we placed a few dots of red paint on their page for them to finger paint. When that was spread, we added yellow and orange for all the colors of fire.
Now it is certainly time to call 911.
Then we placed a few dots of red paint on their page for them to finger paint. When that was spread, we added yellow and orange for all the colors of fire.
Now it is certainly time to call 911.
Tuesday, May 31, 2016
Fall Folliage
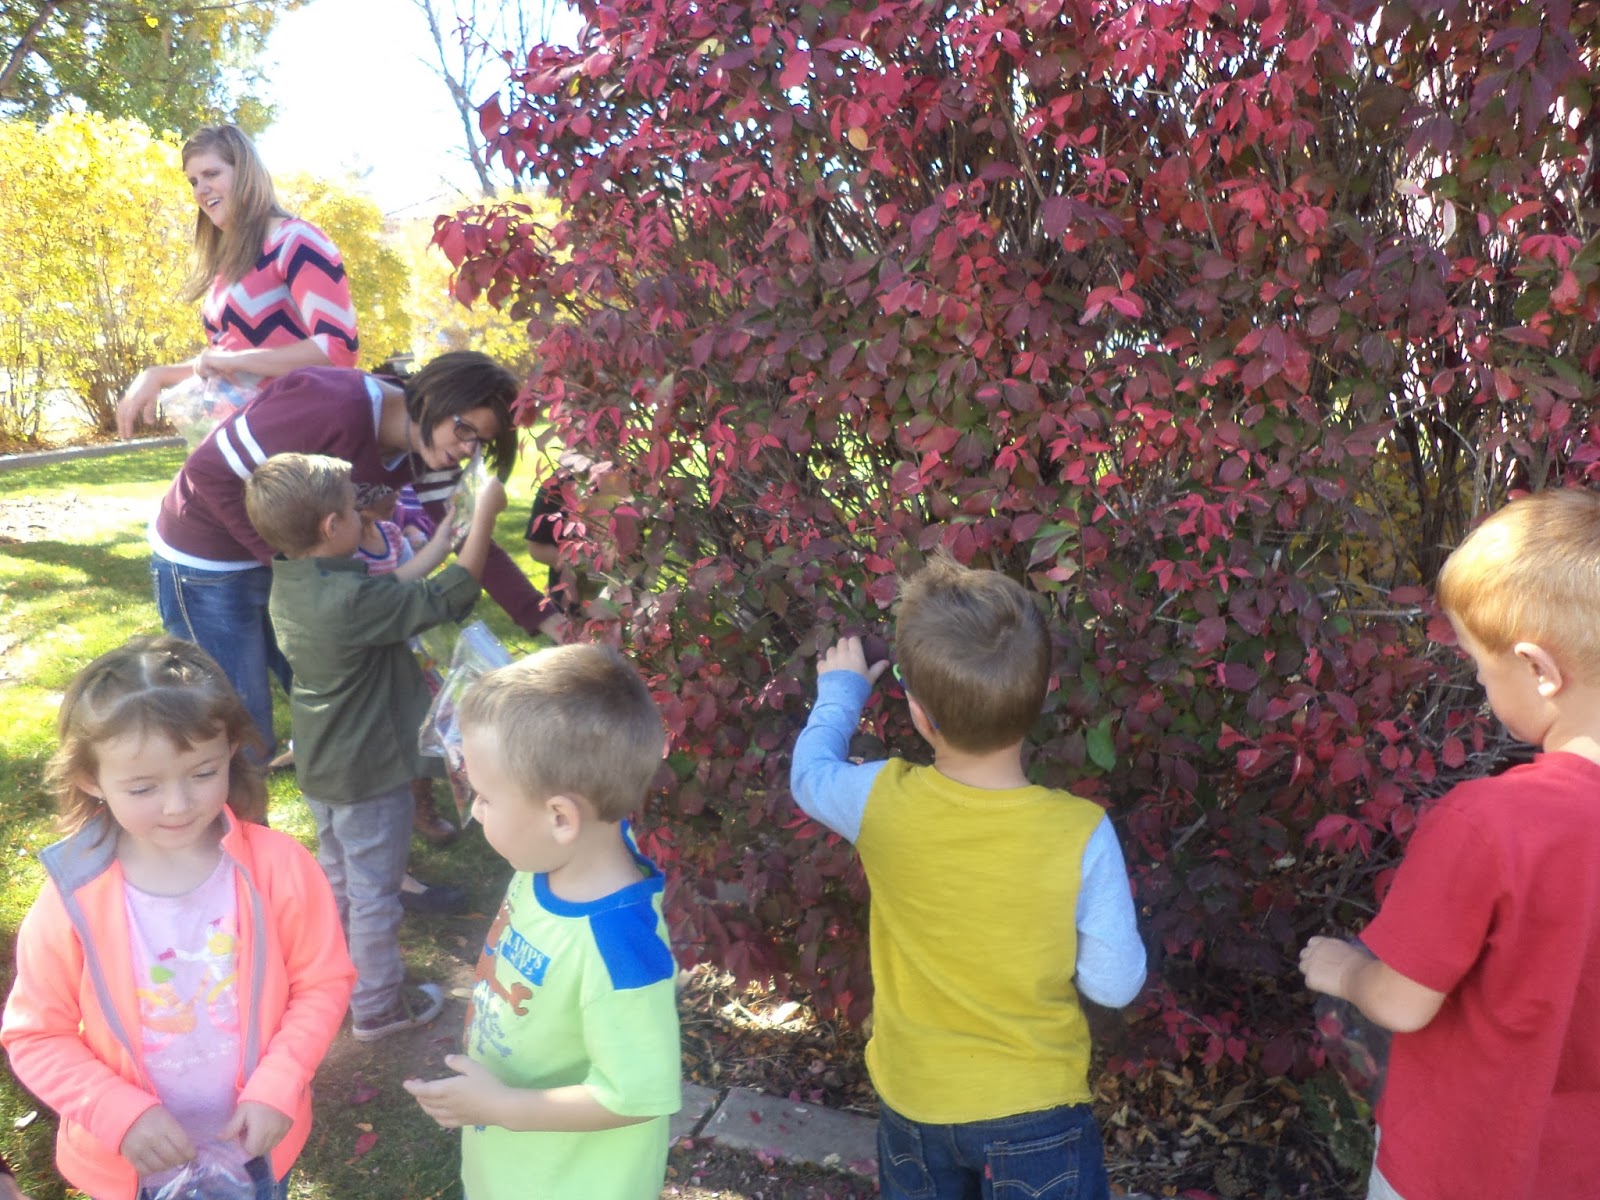
When we learned about Fall and leaves changing, we went for a walk and gathered leaves from trees and bushes. We learned about the many colors that leaves change.
When the children came back in, we had simple tree and bushes outlines in the halls. The children were able to use fall colors to paint any trees and bushes that they wanted. Some children worked individually and some worked collaboratively.
When they were finished, we had created a beautiful fall landscape.
When the children came back in, we had simple tree and bushes outlines in the halls. The children were able to use fall colors to paint any trees and bushes that they wanted. Some children worked individually and some worked collaboratively.
When they were finished, we had created a beautiful fall landscape.
Felt Butterflies
After learning about butterflies and talking about how they grow and develop, the children painted their own felt butterflies. The teachers prepped by cutting out the butterfly shapes and attaching a butterfly body to the center and hot gluing on two wiggly eyes.
As children were introduced to the activity, we reviewed the ideas of how a butterfly changes from a caterpillar (like the middle part of the butterfly body) into a butterfly. We also discussed how butterfly wings are all different colors and how they have to "dry" before they can fly.
We placed glitter paints at the table and the children were able to create their very own colorful butterfly.
Sticky Face Collages
To create Sticky Face Collages, draw a circle to represent a face on the non sticky side of contact paper. Peel the backing off the paper and use magnets or tape to place the contact paper on the easel (make sure the sticky side is facing out). Supply buttons, pom poms, pipe cleaners and other materials for the children to use as they create faces. When they finish, gently place a piece of white construction paper to their picture and the contact paper will adhere and they may take their pictures home.
*Idea from Jessica Harrison
Fall Apple Trees
This project was intended to help the children develop cutting and drawing skills. On the day we learned about Apples, we created a tree that hung in the hallway. At circle time we talked about the many different colors of apples and tasted them.
For our art activity, we had cut yellow, red and green paper into 4 inch squares. The children's job was to create apples for the apple tree. The children chose the colors of apples they wanted to make and then drew their apple. After they cut it out, they would get a piece of tape from the teacher and go hang it on the tree. The children worked a long time making more and more apples for the tree.
Monday, December 16, 2013
Colorful Christmas Trees
These trees turned our so adorable. Each child was given a paper that had a brown trunk glued onto it. The teacher wondered how she could make it into a beautiful tree. The children said that it was missing its branches. Fortunately, we had three sizes of colorful branches cut out and ready to use!
We showed the children how we could put the longest ones on the bottom of the tree and then the medium sized ones in the middle, and finally the smallest ones on top.
Subscribe to:
Posts (Atom)